If you have ever lost a subscriber simply because they were getting too many emails, or the wrong kind, you already understand why an email preference center matters. Most people do not want to unsubscribe entirely. They just want more control. And when you give them that control, something interesting happens: they stay, they engage more, and they trust you more.
MailerLite now makes it easier than ever to set up an email preference center that lets your subscribers decide exactly what they want to hear from you. In this post, you will learn what a preference center is, why it reduces unsubscribes, and how to set one up step by step inside your MailerLite account.
What Is an Email Preference Center?
An email preference center is a page where your subscribers can manage their own email experience. Instead of hitting unsubscribe when they feel overwhelmed, they can choose which types of emails to receive, how often to hear from you, or which topics interest them most.
Think of it as giving your audience a menu instead of a set meal. Some people want your weekly newsletter but not your promotional emails. Others want product updates but nothing else. When you respect those preferences, you build a more loyal and engaged list, rather than a large but disengaged one.
Furthermore, a preference center signals professionalism. It shows your subscribers that you value their time and their inbox. That alone builds a level of trust that most businesses overlook entirely.
Why This Feature Changes Everything for Small Businesses
For small business owners and freelancers, every subscriber counts. Consequently, losing someone because they felt they had no options is one of the most avoidable mistakes in email marketing.
A preference center solves this in two ways. First, it reduces hard unsubscribes by offering an alternative. Second, it gives you cleaner data, because when subscribers self-select their interests, you know exactly what to send them and when. That means higher open rates, better click-through rates, and a list that actually converts.
Additionally, in a world where privacy and consent are increasingly important, giving subscribers control over their data and communication preferences is not just good practice, it is quickly becoming an expectation.
How to Set Up an Email Preference Center in MailerLite
Setting this up is more straightforward than it might sound. Here is a step-by-step guide to getting your preference center live.
Step 1: Plan your preference categories Before you open MailerLite, decide what options you want to offer your subscribers. Common categories include: weekly newsletter, promotional offers, new content or blog posts, product updates, and event announcements. Keep it simple, three to five options is usually enough.
Step 2: Create groups in MailerLite Each preference category should correspond to a group inside your MailerLite account. Go to Subscribers, then Groups, and create a group for each category you planned. Name them clearly so both you and your subscribers understand what each one means.
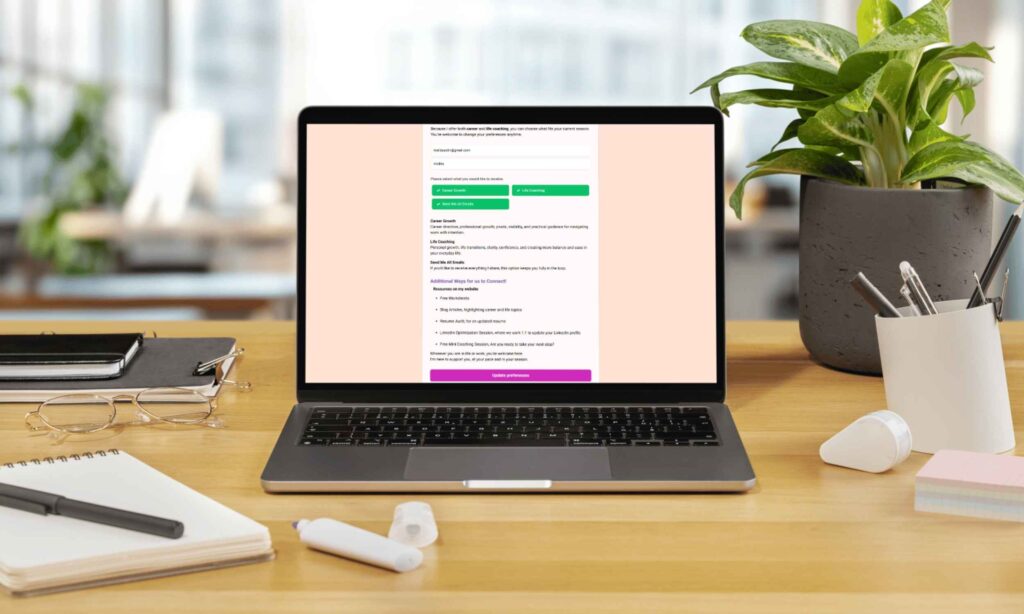
Step 3: Build your preference center page In MailerLite, navigate to the Forms section and select Preference Center. You will be able to build a custom page where subscribers can check or uncheck their preferences. Add your group options, customise the design to match your brand, and write a short, friendly intro explaining what each option includes.
Step 4: Link it in your emails Add a link to your preference center in the footer of every email you send. You can use text like “Manage your email preferences” or “Choose what you hear from us.” MailerLite generates a unique link for each subscriber automatically, so their current preferences are pre-loaded when they arrive on the page.
Step 5: Segment your campaigns accordingly Once subscribers start updating their preferences, use those groups to segment your campaigns. Send your weekly newsletter only to the newsletter group, your promotions only to subscribers who opted in for offers, and so on. This is where the real magic happens, every email you send becomes more relevant, and relevance drives results.
What to Write on Your Preference Center Page
The copy on your preference center matters more than most people realise. Keep it warm, simple, and benefit-focused. Here is an example of how you might frame it:
“We want to make sure every email we send is something you actually look forward to. Choose what you would like to hear from us below, and update your preferences any time.”
Then list each option with a short description. For example: “Weekly tips, practical email marketing advice every week” or “Special offers, exclusive deals and early access.” Clear, honest, and easy to act on.
The Connection Between Preference Centers and Deliverability
There is another benefit that does not get talked about enough: deliverability. When your subscribers are receiving content they actually asked for, they are far more likely to open, click, and engage. Email providers like Gmail and Outlook use engagement signals to decide whether your emails land in the inbox or the spam folder.
In other words, a well-managed preference center does not just reduce unsubscribes, it actively improves the health of your entire email list. Over time, that translates into better inbox placement and stronger overall campaign performance.
A Simple Feature With a Big Impact
Setting up an email preference center is one of those tasks that takes an hour to implement and pays off for years. It is a quiet, professional upgrade that your subscribers will appreciate, even if they never consciously think about it.
Moreover, it removes one of the most common friction points in email marketing: the all-or-nothing choice between staying subscribed to everything or leaving entirely. When you give people a middle ground, most of them choose to stay.
If you want help setting up your MailerLite preference center, subscriber groups, or email segmentation so your campaigns reach the right people every time, I offer setup services designed to create simple and reliable email systems.
You can also download my Effortless Setup Starter Kit, where I share practical steps for building email systems that run smoothly in the background.