If you are wondering how to create a lead magnet in Canva, you are not alone. Many solo entrepreneurs and small business owners know they need a free resource to grow their email list, but the design process can feel overwhelming.
The good news is that learning how to create a lead magnet in Canva is actually very simple. Canva gives you ready-made templates, drag-and-drop tools, and easy export options that allow you to create professional resources in a short amount of time.
A lead magnet can be anything that provides value to your audience. For example, it could be:
A checklist
A quick guide
A short workbook
A resource list
A mini tutorial
However, the most important thing is that your lead magnet solves one small problem clearly and quickly.
In this guide, I will walk you through how to create a lead magnet in Canva step-by-step, even if you have never designed anything before. By the end, you will have a professional resource ready to connect with your email platform and start growing your list.
Why Lead Magnets Work So Well
Before learning how to create a lead magnet in Canva, it helps to understand why lead magnets are so powerful for business growth.
Most people are not ready to buy immediately when they visit your website. However, they might be willing to exchange their email address for something helpful.
That is exactly where lead magnets come in.
A good lead magnet allows you to:
Build an email list
Start a relationship with potential clients
Demonstrate your expertise
Guide visitors toward your services
Additionally, lead magnets create a low-pressure entry point into your business.
For example, instead of asking someone to hire you immediately, you can simply offer a helpful resource. Once they receive value from you, they are much more likely to trust you later.
That is why learning how to create a lead magnet in Canva is one of the most valuable skills for online entrepreneurs.
Step 1: Choose the Right Lead Magnet Idea
The first step in learning how to create a lead magnet in Canva is deciding what type of resource you want to create.
Your lead magnet does not need to be long or complicated. In fact, shorter resources often perform better because they are easier to consume.
Here are some effective lead magnet ideas:
Quick Checklists
Checklists are simple and highly actionable.
Examples:
Website launch checklist
Email marketing checklist
Lead magnet creation checklist
People love checklists because they provide a clear step-by-step structure.
Short Guides
A short guide explains a specific topic in a simple format.
For example:
How to design a lead magnet
How to create your first automation
How to grow an email list
This format works very well because readers feel like they are learning something valuable quickly.
Resource Lists
Another effective option is a curated list of helpful tools.
For example:
Best email marketing tools
Canva design tools
Automation platforms
These are easy to create and extremely helpful for beginners.
Mini Workbooks
Mini workbooks allow readers to apply what they learn.
For example:
Funnel planning workbook
Brand clarity workbook
Email sequence planner
Because they are interactive, they create deeper engagement.
Step 2: Open Canva and Select the Right Template
Once you have your idea, the next step in how to create a lead magnet in Canva is choosing a template.
Start by opening Canva and searching for:
“ebook”
or
“workbook template.”
These templates already include structured pages such as:
Cover page
Section pages
Content pages
Checklist layouts
Using a template saves time and keeps your design consistent.
However, do not worry about finding the perfect template immediately. You can always customize colors, fonts, and layouts later.
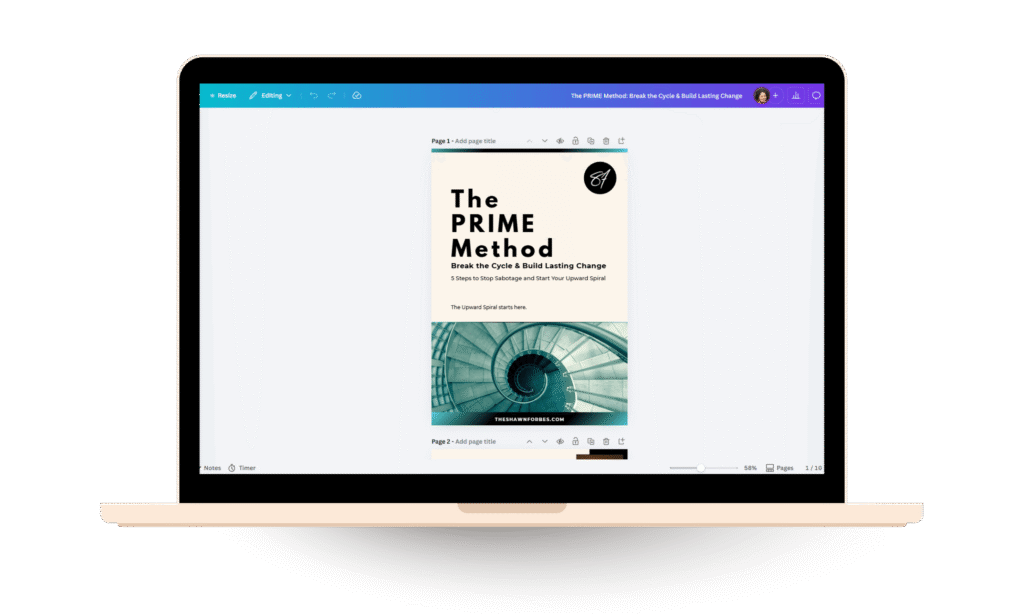
Step 3: Design a Clean and Professional Cover
Your cover is the first thing people see when they download your lead magnet.
Therefore, when learning how to create a lead magnet in Canva, it is important to keep the cover simple and clear.
A strong cover usually includes:
A clear title
A subtitle explaining the benefit
A clean visual or illustration
Your brand colors
For example:
Title:
Effortless Setup Starter Kit
Subtitle:
Short Canva, automation, and email tips to simplify your systems.
Avoid adding too many elements. Instead, focus on clarity.
A clean design looks far more professional.
Step 4: Structure the Content Pages
Now that your cover is ready, the next step in how to create a lead magnet in Canva is building the internal pages.
Good lead magnets follow a simple structure:
Introduction
Tips or steps
Actionable advice
Closing section
For example:
Page 1: Introduction
Pages 2–6: Tips
Page 7: Quick action steps
This structure keeps the guide easy to follow.
Additionally, remember that people often skim content. Therefore:
Use headings
Use short paragraphs
Use bullet points
This improves readability and makes the resource more helpful.
Step 5: Use Simple Visual Elements
One reason people want to learn how to create a lead magnet in Canva is because Canva makes design extremely easy.
However, it is still important to keep visuals simple.
Some helpful design elements include:
Icons
Dividers
Highlight boxes
Simple illustrations
These elements help guide the reader through the content.
However, avoid overusing graphics. Too many elements can make the design look cluttered.
A clean layout always performs better.
Step 6: Maintain Consistent Branding
Brand consistency is another important part of how to create a lead magnet in Canva.
When someone downloads your resource, they should recognize your brand.
Try to keep the following consistent:
Brand colors
Fonts
Visual style
For example, you might choose:
One heading font
One body font
Two main colors
This keeps the design cohesive and professional.
Fortunately, Canva allows you to apply styles quickly across multiple pages.
Step 7: Export the Lead Magnet Correctly
Once your design is finished, the next step in how to create a lead magnet in Canva is exporting the file.
The best format is:
PDF Standard
This keeps the file size manageable while maintaining quality.
Before exporting, double-check:
Page alignment
Spacing
Text readability
Also make sure the document is easy to read on both desktop and mobile devices.
Many people will open your lead magnet on their phone.
Step 8: Connect Your Lead Magnet to an Email Platform
Designing the resource is only one part of the process.
To fully benefit from how to create a lead magnet in Canva, you need to connect the lead magnet to your email platform.
For example, you might use platforms like:
MailerLite
Klaviyo
The typical setup looks like this:
Visitor downloads the lead magnet
→ email is captured through a form
→ automated email sends the PDF
→ subscriber enters your welcome sequence
This simple automation allows you to grow your email list continuously.
Instead of sending files manually, the system works automatically.
Common Lead Magnet Mistakes
Even though learning how to create a lead magnet in Canva is straightforward, some common mistakes can reduce results.
Creating Something Too Long
Many people believe longer content is better.
However, lead magnets work best when they are short and focused.
Remember: quick wins create the best first impressions.
Overcomplicating the Design
Design does not need to be complicated.
Clean layouts perform much better than crowded designs.
Not Connecting It to Automation
A lead magnet without automation creates unnecessary work.
Automation ensures subscribers receive the resource immediately.
Final Thoughts
Learning how to create a lead magnet in Canva is one of the simplest ways to start building an email list.
With Canva, you can design professional resources without advanced design skills. More importantly, you can create something valuable for your audience in a short amount of time.
Remember, your lead magnet does not need to be perfect. It simply needs to help your audience solve a small problem.
Once your resource is ready and connected to your email platform, it can start working for your business automatically.
And over time, that small free resource can turn visitors into subscribers, and eventually into clients.
Need help designing one that converts?
If you want to follow this process step-by-step, you can also download my Effortless Setup Starter Kit where I share short and practical tips for designing resources, automations, and email systems.